
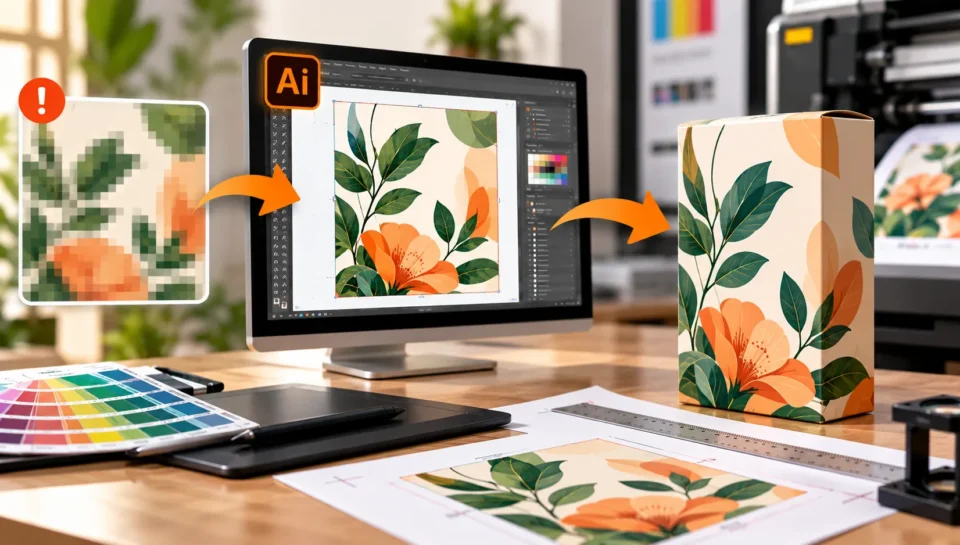
An AI-generated image can look sharp on your screen but appear blurry, pixelated, or unnatural when printed. This usually happens when the image does not contain enough detail for its intended print size.
The good news is that a low-resolution image can sometimes be improved with AI upscaling, image editing, or vector recreation. However, simply increasing the resolution number in an image editor does not automatically improve its quality.
To turn a low-resolution image into print-ready artwork, you need to check its pixel dimensions, calculate the effective resolution at the final print size, improve the image where necessary, and prepare the complete artwork according to the printer’s specifications. Adobe’s image-resolution guidance explains how pixel dimensions, resolution, and physical print size work together.
What Is a Low-Resolution Image?
A low-resolution image contains too few pixels to reproduce its details clearly at a particular print size.
For example, an image may look perfectly acceptable on a phone but become blurry when enlarged for a product box, label, poster, or retail display.
Three factors determine whether an image is suitable for printing:
- Pixel dimensions: The actual number of pixels in the image.
- Resolution: How densely those pixels are distributed across the printed area, measured in pixels per inch (PPI).
- Print size: The physical width and height of the final image.
For example, a 1,000-pixel-wide image printed at 300 PPI produces a print approximately 3.33 inches wide. Enlarging it to 10 inches wide reduces its effective resolution to 100 PPI unless additional pixels are generated.
Step 1: Check the Image’s Resolution and Final Size
Before using an upscaling tool, check the original image.
In Adobe Photoshop, open Image → Image Size to view the pixel dimensions, resolution, and physical dimensions.
A resolution of 300 PPI is a common target for detailed commercial print images, particularly those viewed up close. However, larger graphics viewed from a distance may work at lower resolutions. Always follow your printer’s requirements.
For example, if you have a small AI-generated product image intended for a large package, determine whether it has enough detail before placing it into the final artwork.
Tip: Keep the original image untouched so you can compare it with the enhanced version.
Step 2: Use AI Upscaling to Improve Image Quality
AI upscaling increases an image’s pixel dimensions and estimates additional details based on the available image data.
It can be useful when an AI-generated image looks good but is too small for the intended print size.
A typical workflow is:
- Upload the highest-quality original image.
- Choose the required enlargement factor.
- Generate the enhanced image.
- Compare it with the original.
- Inspect fine details for artifacts.
- Check the effective resolution at the final print size.
AI upscaling may improve edges, textures, and apparent sharpness, but it cannot guarantee that every detail is accurate. Adobe explains that upsampling adds pixels through resampling and may introduce artifacts or fail to recover detail absent from the source.
Be particularly careful with faces, product labels, fine patterns, and small text. If the tool changes important details, further editing will be necessary.
Step 3: Recreate Logos, Text, and Important Graphics
Upscaling is not always the best solution for every element.
If an AI image contains a distorted logo, misspelled product name, or unclear icon, recreating that element is often more reliable than enlarging it.
Consider these options:
- Logos: Replace them with the original vector logo.
- Text: Rebuild it using editable text and the correct font.
- Icons: Recreate simple icons as vector graphics.
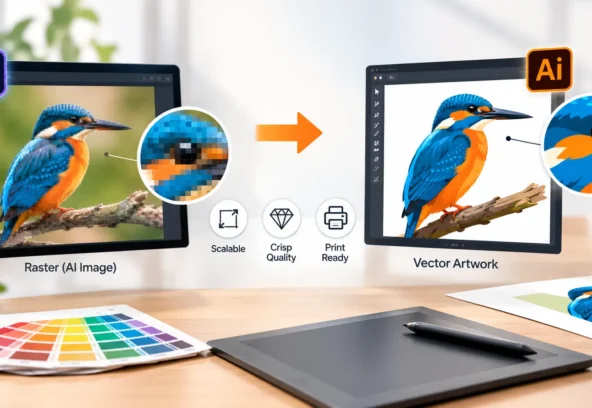
- Illustrations: Trace or redraw suitable artwork as vectors.
- Photographs and textures: Retain them as raster images if their quality is sufficient.
Vector graphics can scale without the pixelation associated with raster images. Langoor Designs offers image vectorisation and optimisation as part of its artwork production services.
The goal is to improve the elements that matter most rather than trying to fix the entire image with one tool.
Step 4: Check Colours and Prepare the Artwork for Print
After improving the image, prepare it for the intended printing process.
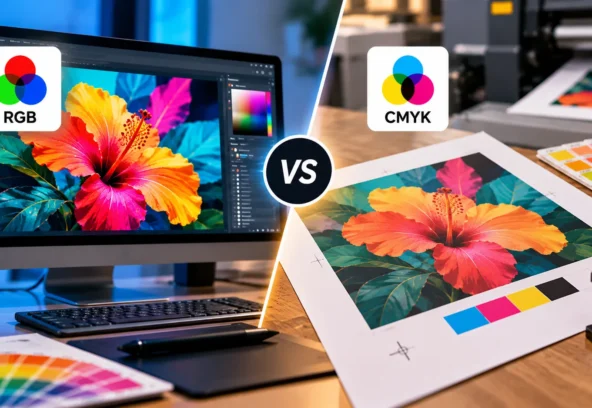
AI-generated visuals may use bright colours that look different when reproduced using a printer’s colour workflow. Confirm whether the printer requires CMYK, a specific colour profile, or another delivery setup.
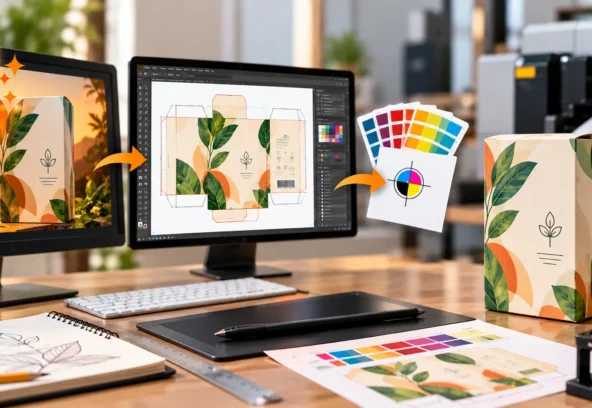
For packaging artwork, also check:
- Final dimensions
- Bleed and safe areas
- Correct typography
- Dielines, if applicable
- Linked images and fonts
- Special finishes, if required
- The requested print-ready file format
A high-resolution image is only one part of a print-ready file. The complete artwork must meet the technical requirements of the product and printer.
Step 5: Inspect the Final Artwork Before Printing
Before approving the file, inspect the image at its intended output size.
Look for blurry edges, artificial textures, unwanted halos, distorted details, and inconsistent colours. Check that logos and text are correct and that the image remains clear at the size it will actually be printed.
For packaging, request a proof when colour accuracy or fine detail is especially important. A prepress review can also identify missing assets, incorrect dimensions, bleed problems, and other production issues before the file reaches the press.
Which Method Should You Use?
| Image issue | Recommended approach |
| Image is slightly too small | Test AI upscaling |
| Image is heavily pixelated | Find a better original or recreate it |
| Logo looks distorted | Replace it with vector artwork |
| Text is unclear or incorrect | Rebuild the text |
| Simple illustration looks jagged | Consider vector recreation |
| Packaging image needs enlargement | Upscale, inspect, and check the complete packaging file |
| Image is for a large display | Confirm the required resolution with the printer |
Not every low-resolution image can be restored to professional quality. If the original lacks too much detail, recreating the visual or generating a new image at a suitable size may produce a better result.
How Langoor Designs Can Help
Langoor Designs specialises in packaging design, artwork production, and prepress services for FMCG, pharma, D2C, and other consumer brands. Its website highlights image vectorisation, image-resolution checks, technical image correction, and production-ready artwork preparation.
If your AI-generated image needs more than simple upscaling, a specialist artwork team can help refine the visual, recreate essential elements, adapt packaging artwork, and prepare files according to printer specifications.
The objective is to make sure the artwork works not only on screen but also in the final printed product.
Frequently Asked Questions
Can a low-resolution AI image be printed?
Yes, depending on the image quality, final size, and printing process. Small prints or graphics viewed from a distance may tolerate lower resolution than detailed artwork viewed up close.
Can AI upscaling make an image print-ready?
AI upscaling can improve image dimensions and apparent detail, but it cannot guarantee perfect results. The final image still needs to be checked at its intended print size.
Is 300 PPI necessary for every print?
No. Around 300 PPI is a common target for detailed images viewed up close, but large-format printing and other applications may use lower resolutions. Follow the printer’s specifications.
Does changing an image from 72 DPI to 300 DPI improve quality?
Not by itself. Changing the resolution setting without adding pixels changes the relationship between resolution and physical print size, not the actual image detail. Resampling adds pixels but cannot guarantee genuine new detail.
Should I convert a low-resolution image into a vector?
Vectorisation is useful for logos, icons, text, and suitable illustrations. Photographs and complex textures generally remain raster images, so the right approach depends on the image content.
Can low-resolution AI images be used for product packaging?
Yes, if the images can be brought to an acceptable quality and the final artwork meets the packaging manufacturer’s requirements. This may involve upscaling, recreating text and logos, colour management, dielines, and prepress checks.
Final Takeaway
Turning a low-resolution AI image into print-ready artwork requires more than increasing its pixel dimensions. Start by checking the original image, calculating the effective resolution at the final print size, and choosing the right improvement method.
Use AI upscaling when it helps, recreate logos and text when necessary, and inspect the complete artwork before printing. For packaging and other production-sensitive projects, a professional prepress review can help catch issues before they become costly printing problems.
The goal is not simply to make the image bigger. It is to make sure it remains clear, accurate, and suitable for the final printed product.